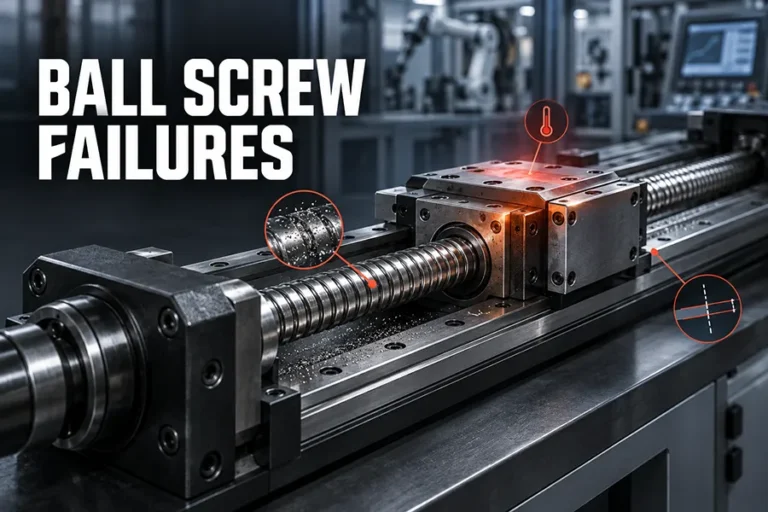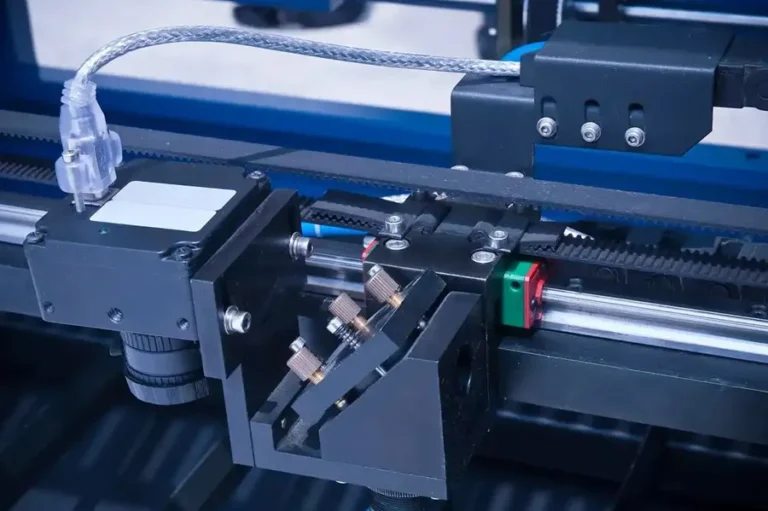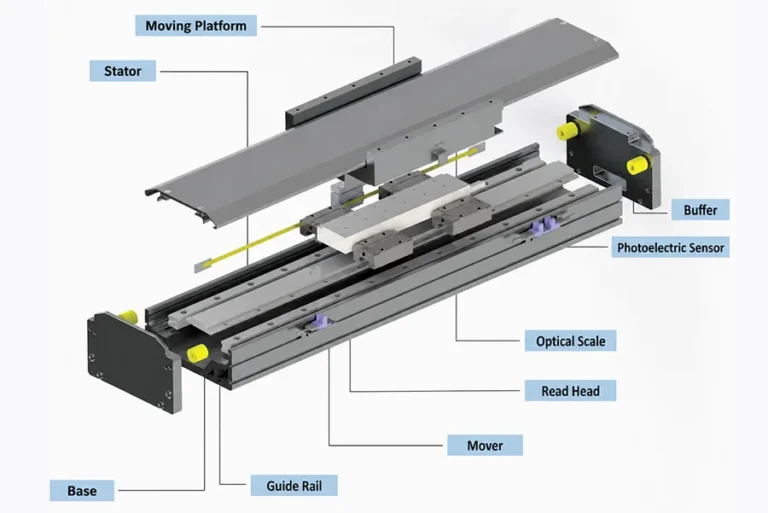


As part of the machine’s feed transmission chain, the assembly method and precision of the guide rails determine the machine’s positioning accuracy and affect operational stability. How should linear guideways and slide blocks be installed correctly?
1. Preparation
- Safety: Disconnect power and apply lockout/tagout procedures; remove the load; clean dust and metal chips from the work area.
- Tools: Slide blocks of the same model, torque wrench, hex key, lint-free cloth, alcohol, specialized guide rail grease/oil, and a transfer rail or mounting jig (THK recommends using a jig).
- Verification: Confirm that the slide block model and preload grade match the original parts; inspect the new slide block packaging for integrity and check the raceways for scratches.
2. Removing the Old Slide Block
- Move the slide block to the end of the linear guideway, loosen the mounting bolts, and sort/store the bolts in a small container.
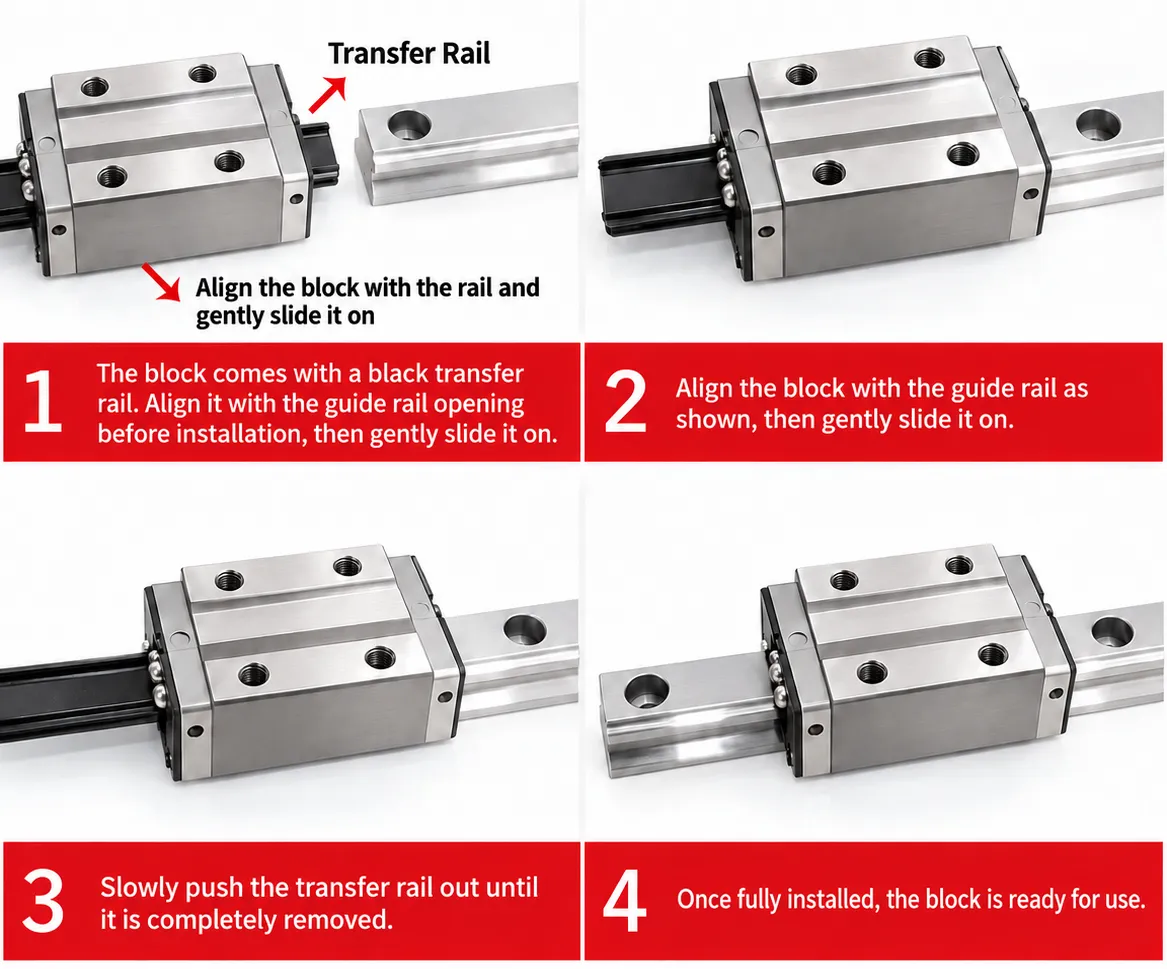
- Use a transfer rail or jig to smoothly push out the slide block, holding it firmly throughout the process to prevent the steel balls from scattering; if a jig is unavailable, use a wooden block as a buffer—direct hammering of the slide block body is prohibited.
- Clean the guide rail raceways and mounting surfaces, removing burrs and oil residue; inspect the guide rail for deformation and replace it simultaneously if necessary.
3. Installing the Linear Guideways
First, ensure the technician wears clean gloves and removes any burrs, dents, or debris from the mounting reference surface. Gently place the guide rail onto the machine bed, then tighten the mounting screws to bring the rail into close contact with the mounting surface. (Note: The reference surface of the machine bed must align with the side of the guide rail marked with an identification line.)
Next, tighten the positioning screws in sequence to ensure a tight fit between the guide rail and the mounting surface.
Then, using a torque wrench, tighten the mounting screws in order, starting from the center and moving toward the ends. Finally, gently tap the specialized dust caps into the mounting screw holes until they are flush with the top surface of the guide rail.
4. Installing the New Carriage
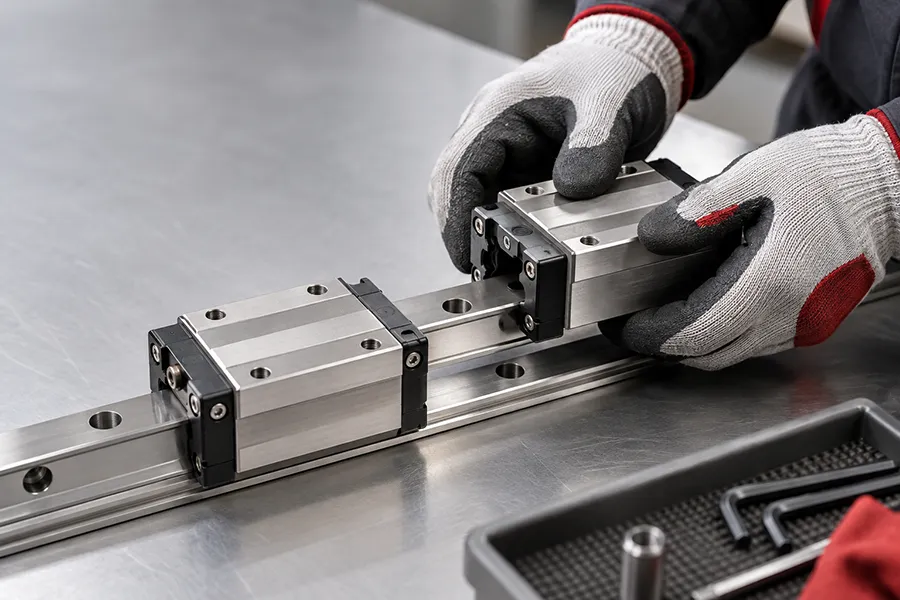
- Align the new carriage with the transition rail, ensuring the direction of movement matches; slide it smoothly onto the rail to avoid impact.
- Move it to the installation position and pre-tighten the bolts (hand-tighten until seated); if multiple carriages are used on the same rail, space them evenly.
- Use a torque wrench to tighten the bolts symmetrically and in stages according to the manufacturer’s rated torque: first to 50% torque, then to 100% after all are in place, to prevent rail deformation.
5. Calibration and Testing
- Accuracy: Use a dial indicator or spirit level to check straightness and parallelism; the error should be ≤0.01 mm/m (use a laser interferometer for high-precision applications).
- Full-stroke test: Move back and forth at low speed to confirm there is no binding or abnormal noise and that resistance is uniform; use a feeler gauge to verify the clearance is ≤0.01 mm.
- Lubrication: Apply rail-specific grease or oil evenly, replenishing according to equipment specifications to avoid dry running.
6. Precautions
- Do not strike the carriage forcefully, disassemble/assemble without proper fixtures, or run the unit without lubrication.
- Do not tighten to full torque in a single step; this avoids stress concentration.
- Stop use immediately if steel balls fall out and contact the manufacturer for replacement.
- For carriages with oil circuits or retainers, do not remove the retainer prematurely, and ensure the grease nipple faces the same direction as the original component.
7. Quick Acceptance Check
- Push and pull manually across the full stroke; movement should be smooth and free of abnormal noise.
- Run 10 cycles at low speed without load; there should be no vibration or abnormal temperature rise.
- Install protective components (e.g., chip scrapers, bumpers).
Note: Tighten the assembly screws in a diagonal sequence to ensure the mounting surface is secured evenly. This method is efficient for aligning the rail’s straightness and eliminates the need to machine locating pins, thereby significantly reducing installation time.
Summary
Properly replacing the linear guideway carriage helps restore the equipment’s operational accuracy, stability, and service life. When replacing the component, select a slide block that matches the guide rail’s model, dimensions, accuracy class, and preload grade, and use a dedicated transition rail for installation. After installation, verify smooth operation and apply lubricant as required. If the slide block or guide rail shows signs of significant wear, it is recommended to inspect the entire linear guide system to prevent premature failure of the new slide block caused by damage to the rail.